Every opening in a building requires correct framing installation. The framing of the door enhances the strength of the structure at that section and consequently the whole structure itself. You need to know certain things about metal framing doors – how to install metal stud doors.
To install a metal stud door, attach the frame to the floor. And then, you have to reinforce the hinge locations by using metal frame anchors. After that, it ensures the correct installation by using the usual carpenter’s square, level, and plumb.
All building projects, big or small, openings must be secured with the proper frame installation. So, if you want to have additional doors and openings in your house, you must ensure that all of them have adequate framing installations.
Read on to learn more about metal stud door framing, installing metal stud doors, and the importance of knowing the relevant information about this topic.
Metal Framing Door
In securing an opening such as a door, the first thing you need to do is to attach the door frame to the floor. Then attach the metal frame anchors to reinforce all the locations of the door hinges. After doing this, it is all a matter of ensuring the correctness of the installation by using the usual carpenter’s tools like the square, the level, and the plumb.
Correct Framing Installation
Any structure’s overall integrity and strength must provide the openings with the correct framing installation. So, if you are thinking of building a structure with several openings, you need to know the proper framing structures of those openings.
Most Popular Framing Material
Today, the most popular framing material is steel. This is the material used in most commercial and residential construction today. Steel has many advantages over wood. Studs made of steel are straighter, mold and rot-resistant, and don’t split. Storing them is also very easy.
Metal Stud Door Installation Preparation
As usual, a project like installing a metal stud door needs preparation. You need to prepare your tools and select suitable materials to use. And then, you proceed with the installation of the metal stud door. After you’ve done the project, you also need to ensure that it functions just as you want it to be. In other words, you need to verify its strength and integrity.
Why Use Metal Studs?
Advantages of Metal Studs Over Wood
As I’ve already mentioned, metal studs have many advantages over wood, including the following:
- Lightweight
- Highly resistant to fire, rotting, and insects.
- Cheaper Than Wood: On average, steel studs are 30% cheaper than wood studs.
- Can Be Made Perfectly Straight: Useful in construction projects.
- Readily Available: The supply of wood keeps on going down. It is no longer a sustainable raw material for construction projects. As time goes on, steel studs will replace wood studs in the construction industry.
- User-friendly: Working with steel studs may be slower than wood studs if the construction worker is unfamiliar with this material and the tools and techniques. However, once a worker gets the hang of it, they will find it is more user-friendly than wood.
- Easy to Fix Mistakes: Making a mistake in installing metal studs is not a problem because you only have to unscrew the incorrectly installed metal stud and screw it back in the right way. Then you go on to complete the installation of the other metal studs.
Shifting from wood studs to metal studs instead of wood should not be very difficult for the average Joe. You probably already have the necessary tools that you need to shift from wood to metal studs.
Tools Needed When Working With Metal Studs
What are these common tools that you need?
- Straight-cut aviation metal snips
- Tape measure
- Drill (preferably cordless, with several clutch settings)
- Drill bits of various sizes
- 2-inch extension bit holder
- Plumb bob, or 4-foot level
Optional Tools
Additionally, some optional tools will make your work with metal studs easier. You will only spend about $30 on these tools, but they will make your work with metal studs a lot easier:
- Sheet metal locking pliers – for forming tight bends in steel track
- C-clamp locking pliers – for temporary clamping metal studs to tracks
Brief Overview of Installing Metal Stud Door
Before we discuss the complete process of installing the metal stud door and the metal stud door framing details, let me first give you an overview of the process to understand how it is usually done:
1. Prepare the Tools and Materials
The first step you need to take is to prepare the following tools and materials:
- Carpenter’s square
- Carpenter’s level, preferably long
- 1-inch thick wood spreaders
- Hammer
- Flathead screwdriver
- Shims
- One box of #6 x 3/8” self-tapping or steel sheet metal screws
- Protective gear such as gloves, safety goggles, etc.
2. Attach the Anchors of the Door Frame
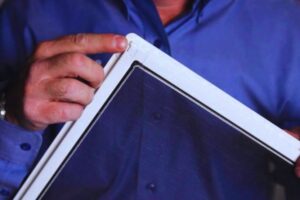
- Insert the metal stud anchors into the frame throat. Then tap them into place with the hammer.
- Position the door frame at the hinge location. It should be directly opposite to the strike frame.
- Install three anchors per side. You will be using a total of six anchors per frame.
3. Install the Door Frame
- Before installing the door frame into the rough opening, you need to install 1-inch wood spreaders first. The spreaders should be spaced 36 inches apart.
- Check for the vertical and horizontal level by using the carpenter’s square and plumb.
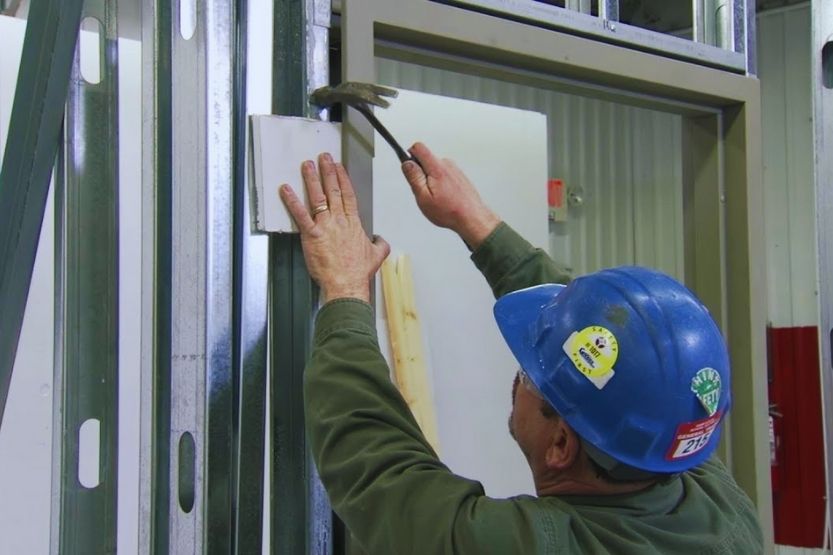
- Attach metal jamb studs to the floor via the floor extension or floor anchor. Install the steel jamb studs to the floor and ceiling runners. They should be tight enough against the frame anchors.
- Position the steel studs in the frame throat and attach them to the anchors by welding or with screws. If screws are used, drill from the back side of the stud, going through both the anchor and the stud. Then finish by attaching two screws per anchor location.
4. Prepare for Wallboard or Drywall
- Don’t install the wallboard or the drywall until you are really sure that the door frame is accurately square and plumb.
- The drywall or wallboard should extend at least 1/2 inch into the door frame. This is for Fire Rated Installation.
- See to it that the required clearance between the stud and frame returns is maintained for easy insertion of the wallboard or drywall.
- Install the wallboard or drywall using drywall screws.
Again, how to install a metal framing door? Installing a metal stud door involves attaching the frame to the floor. Next, reinforce the hinge locations with metal frame anchors. Lastly, verify the correct installation using the carpenter’s square, level, and plumb.
Options for Insulating a Metal Building
Detailed Process of Installing Metal Stud Door

Here is a more detailed discussion of installing a steel door frame in a steel stud door:
1. Preparation
- Position the door frame at the raw door opening. But first, you need to verify if the frame opening specs are matched with the actual opening location specs.
- Compare the size and the handing of the door frame to the plan or drawing from the manufacturer.
- Check the hardware that came with the box. Call the supplier if some of the items don’t match with the hardware on the box.
- Check if the correct hardware reinforcements are installed on the door frame. Also check if it is the correct hinge size, strike type as well as closer mounting.
- Check if the floor finish is designed for wood, concrete, tile, or concrete.
Some door frames suppliers use 4-1/2-inch hinges, regular and parallel arm closer reinforcements, and ASA strikes. You should use the standard 5-3/4-inch steel stud anchor if your wall system is composed of a 3-5/8-inch steel stud with 5/8 inch on each side.
Additionally, some door frame installations require either custom or non-standard anchors. Standard steel stud and wood stud anchors can be used for such installations.
2. Set the Frame Square, Level and Plumb
- On each door jamb, install the base anchors on the floor. Drive a pin anchor or a concrete screw to do this. Install at least six base anchors. Attach three anchors on the strike jamb, and another three anchors to the hinge jamb.
- See to it that proper spacing is given to each anchor. This is important. An anchor should be above every hinge. It should also be directly across at the same or equal height on the strike jamb.
- If electrical components are needed in the installation, this is the time you should install flex cable or conduits for low voltage wiring.
- Put another mid-frame spreader between the strike jambs and the hinges to maintain the alignment and straightness of the frame.
- Check the level accuracy of the head of the frame. Adjust the base anchors if necessary, to get to the level head and the right floor clearance.
- Get the studding in position and start to screw the studs to the track at the bottom. Install the screws on every side of the stud.
- When the stud base is already anchored, secure the studs against each jamb to the steel stud plate at the top. Then install the screws on the two sides of the stud.
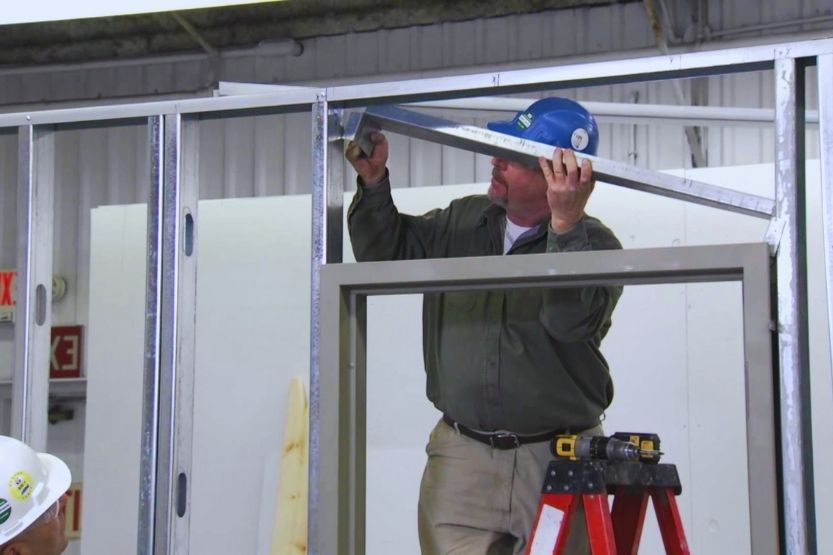
- Attach the header above the frame. See to it that the studs are installed perpendicular to the steel stud track. The distance between the jambs should be the same for both the top and bottom of the frame.
- Re-check the frame for level, plumb, and square.
- Install screws to the top steel stud anchor on the strike jamb to secure it. Check the plumb accuracy in every direction of the hinge and strike.
- Place the top of the hinge jamb to the stud. It should be positioned in such a way that the thickness of the drywall can easily go through each side.
- The anchor must be also able to hold its place. To do this, bend its ear around the stud.
3. Finish the Installation
- Check the dimension and accuracy of the frame. Then screw the rest of the frame anchors into the metal studs. You should use at least two screws to secure each anchor.
- If you are using wood stud anchors, you should bend the ears tightly against the steel stud.
- Once you are sure that the frame is tightly anchored and secured to the studs, re-check for the dimension and accuracy on all directions.
- Also check the electrical wiring requirements if it is required in the opening of the door frame.
- The person who will install the drywall should also check the plumb, level and square of the frame before they hang the drywall. They should also avoid shoving too much drywall into the hinge, head jambs, or strike. This may affect the alignment of the frame and throw it off.
4. Verify the Installation
- Re-check the frame for accuracy of the metal stud door framing before you allow the screwing of the drywall to the perimeter studs of the frame.
- If you or the installer has done everything right and according to the manufacturer’s instructions, you have successfully installed the metal frame.
To help you visualize this process, the video below will show how to install a steel door frame in steel stud construction:
Conclusion: Metal Framing Door
If you want to install a metal stud door, you have first to attach the frame to the floor. Then you need to reinforce the hinge locations with metal frame anchors. After that, you need to ensure that the installation is right by using standard carpenter’s tools such as the level, square and plumb.